

Ever since I changed my child care space to be more natural I’ve wanted to get some natural wood teethers. I browsed Etsy several times, but every time I started to click the Buy Now button a little voice in my head would scream “What are you doing, you crazy woman? You can make those yourself much cheaper!” so I couldn’t bring myself to buy them.
 Since my youngest little ones were pretty much past the teething stage and life was as crazy as usual I didn’t get around to making any, until my friend Nicole gave me this wood teether she picked up on vacation. It was all the inspiration I needed to try making my own!
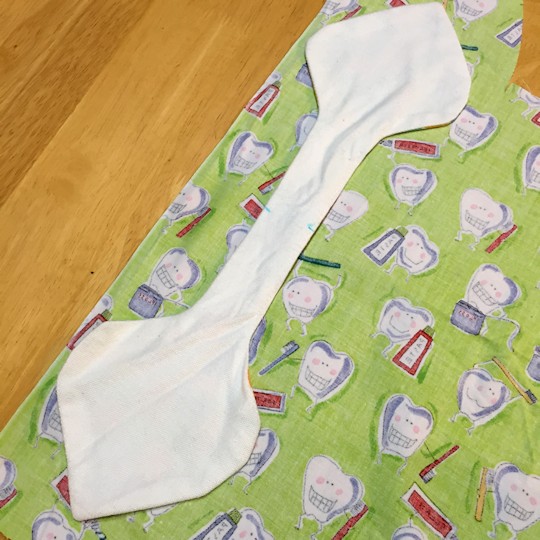 I took the easy route and traced the teether I had, but you can make your fabric any shape you want. If I had to hand-draw a shape I’d probably round the pointed ends and make the whole thing barbell shaped. The measurements are:
- 17″ long from tip to tip
- 5″ at the widest part of the ends
- 7″ long in the center
- 1 1/2″ wide in the center
Remember to add 1/4″ seam allowance all around before you cut!
 I used fun cotton prints and bamboo velour from my cloth diaper fabric stash. I think you could also use flannel although it may pill a little, velour, or cotton fleece. I wouldn’t use polyester fleece because it seems too fuzzy to be nice for chewing on.
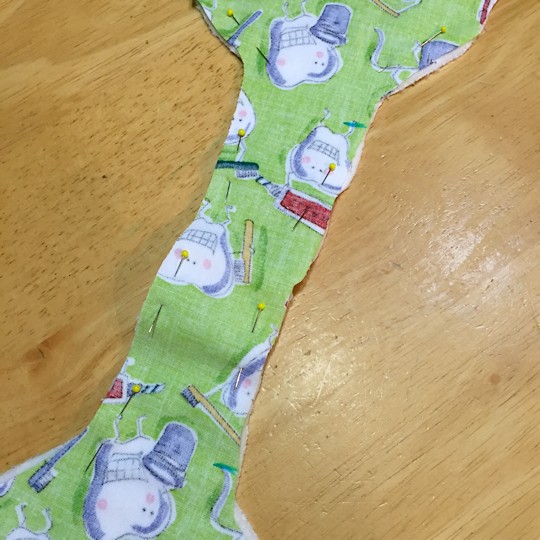
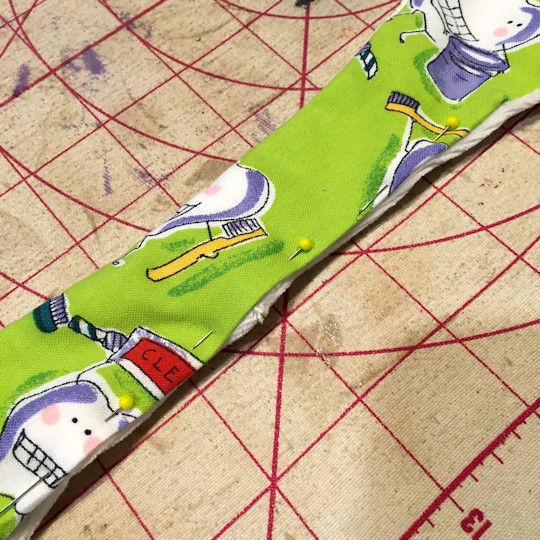
After cutting, pin the fabrics right-side-together and mark an opening for turning.
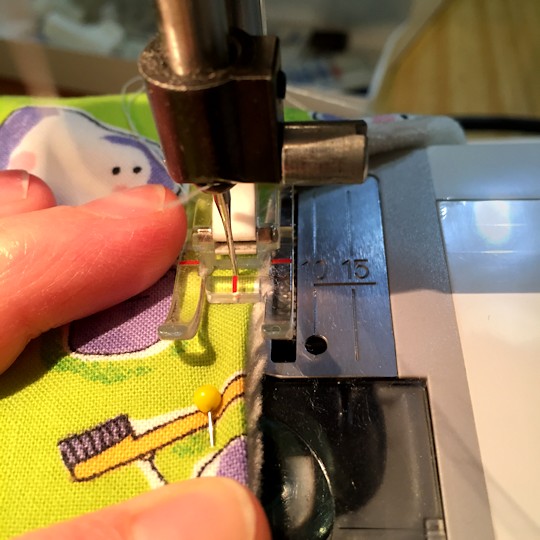
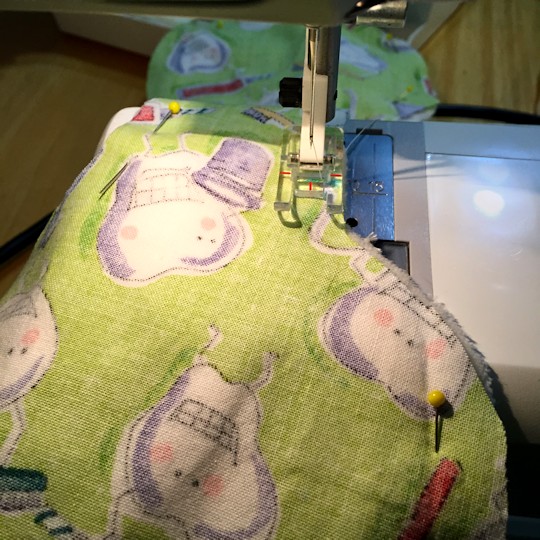 Beginning at one mark, sew all around with a 1/4″ seam, ending at the other mark.
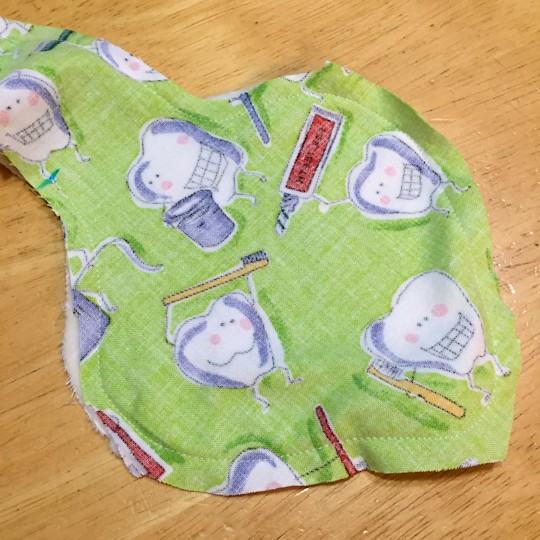 If you look closely you can see that the stitching ends at the blue mark.
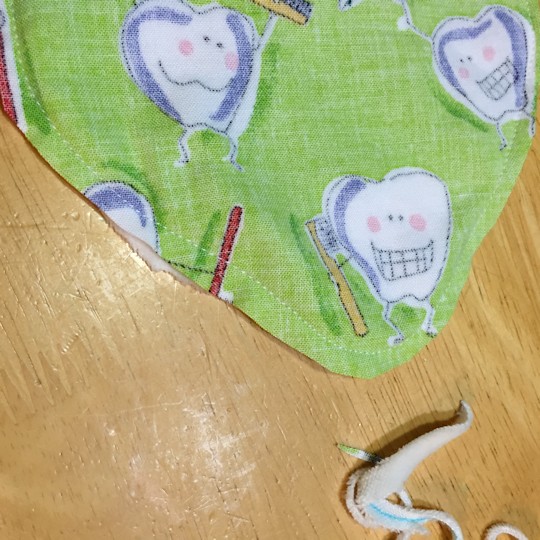 Trim the seam allowance to about 1/8″ and clip the curve where the center widens out toward the ends.
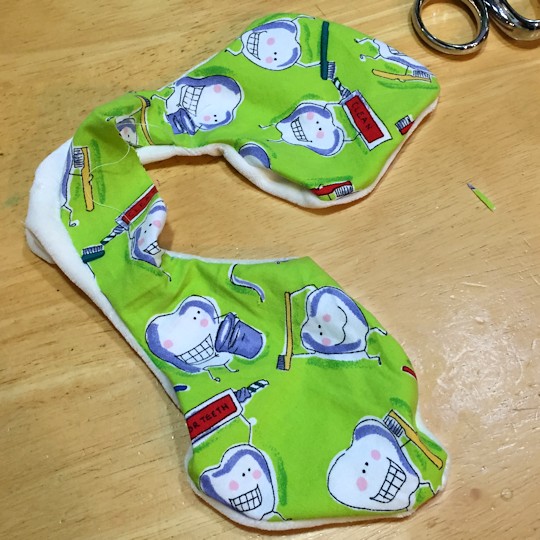 Turn right-side-out, using the opening in the stitching. Press
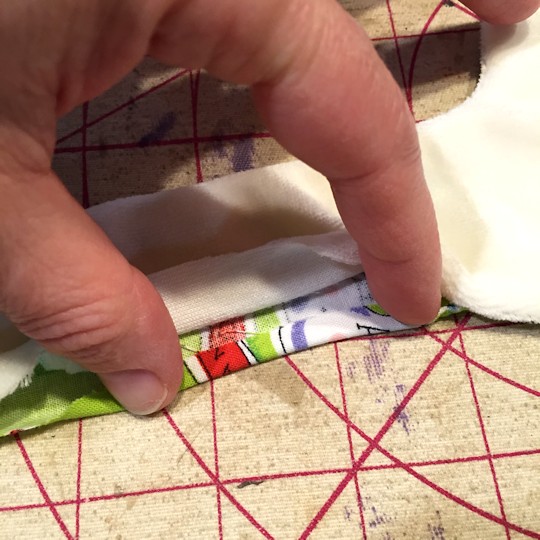 Turn the seam allowance in the open area in about 1/4″ and carefully press.
 Pin the layers together.
 Stitch close to the fold to close the opening.
Ta da – you’re almost done!
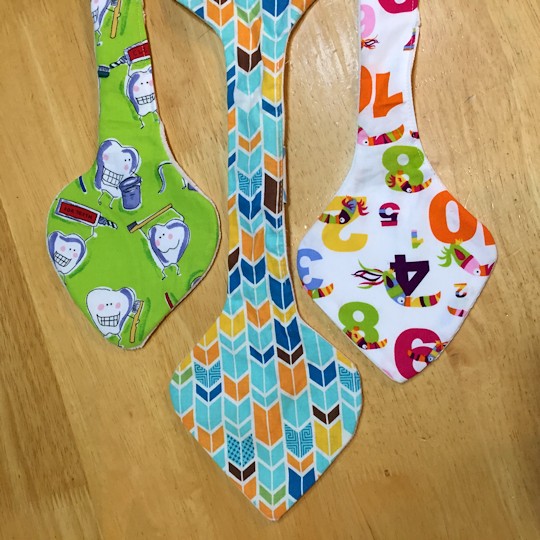 Don’t they look great?
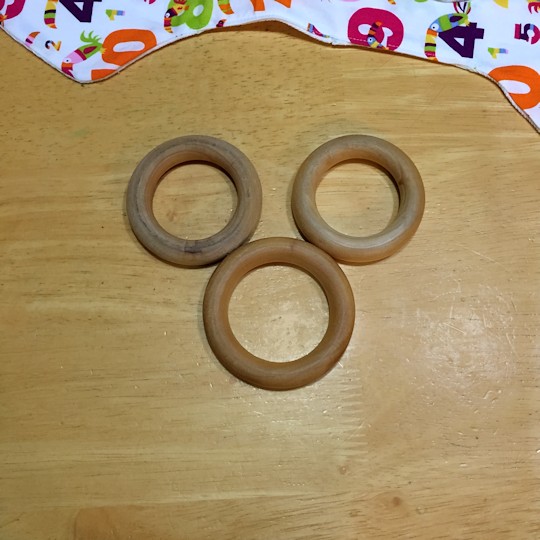 I had some wood rings set aside from the rainbow ribbon rings I’d made earlier. They’re a little smaller than the purchased one but I figured they were close enough.
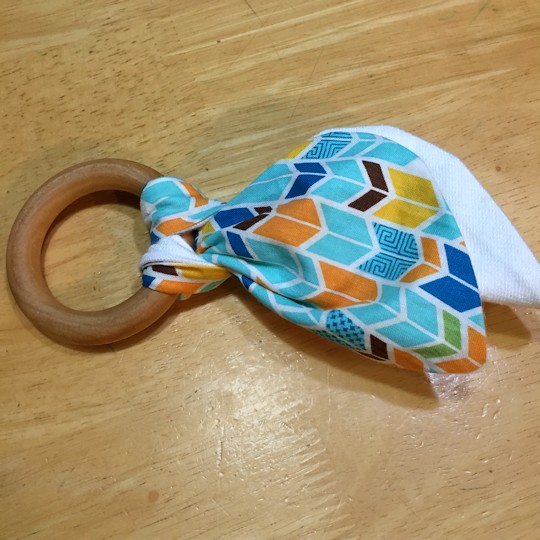
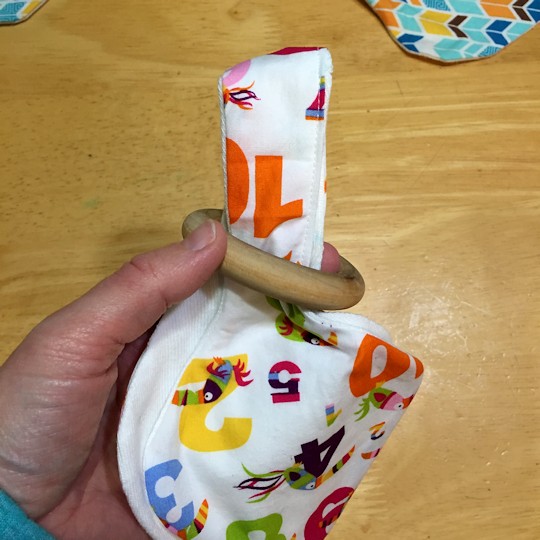 Fold the fabric in half and thread the folded part halfway through the wood ring.
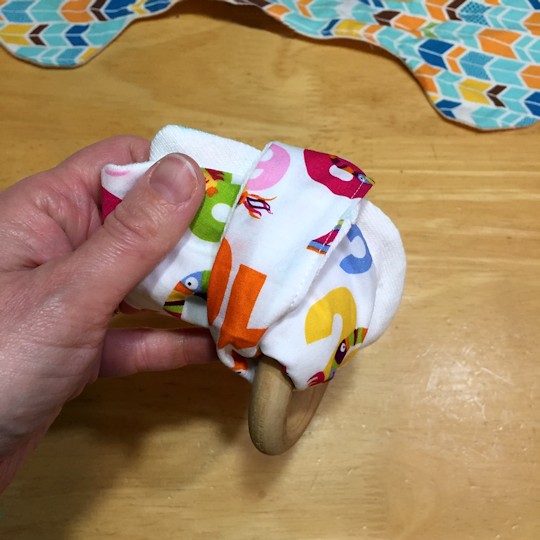 Put the ends through the loop, around the wood ring, and pull tight.
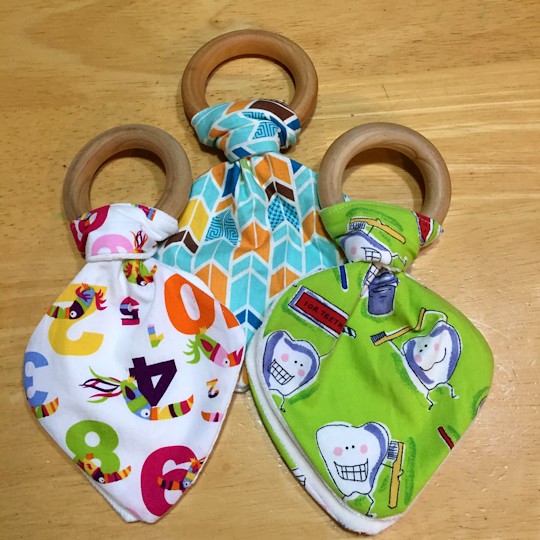 And there you go – you’ve just made your own natural wood teethers!
Since making these I’ve discovered that my clever littles figured out how to take the fabric off the rings. After putting them back together this way numerous times I’ve given up and have just tied the fabric to the wood rings. It’s not as pretty, but it stays together much better!


